Been putting off cleaning and organising your craft space? Here are some really handy tips from Teapea Design.
- Make a plan – Take time to sit down and plan exactly how your space should function. Make sure the items that you use frequently are in reach, and those that aren’t are packed away.
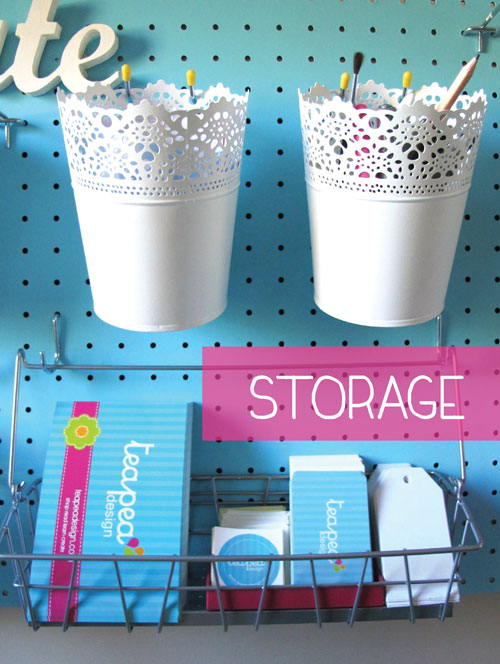
- Storage – Whether its fabric, buttons, paper or paints, make sure that all of your materials and equipment have their own storage containers. Use anything you can get your hands on, takeaway containers, jars, jewellery boxes or ice cream containers. Just make sure they have a lid and can be stacked.
- Organise your materials according to how you use them – For the items that you have loads of, consider how you use them and sort accordingly. For me, the most practical way of sorting my oodles of fabric is according to size. This way I know what fabrics I have available that are small enough for my hair accessories, or large enough to create a blanket. Depending on your supplies, you could divide them by size, colour, quantity or lengths.
- Current projects – Keep all of the projects that you are working on in one box, making sure that the projects are packed away in this box at the end of each ˜creative session . This will ensure that your workspace is kept clear and all of the pieces to your projects are kept safely together.
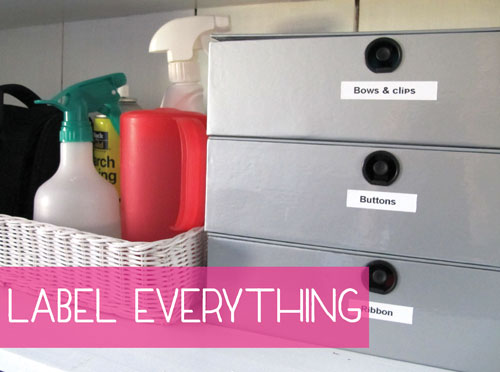
- Label everything – This is one of the fun parts! Whether you use a labeller, handmade tags, or just a permanent texta, make sure that all of your storage containers are clearly labelled.
- Paper patterns – Keep your paper patterns in separate plastic sleeves in a ring binder folder. By labelling each of the sleeves you will be able to locate your patterns quickly and easily.
- Use a pin board – A pin board is a simple and effective way to keep your inspiration pages, swatches, business cards or bills handy. They also look great on your wall!
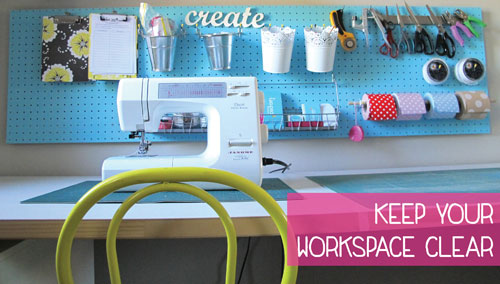
- Keep your workspace clear – The fewer items that you keep permanently on your workspace the more functional it will be. Use shelves, hooks and drawers to store necessities close by.
- Sort regularly – Set regular times throughout the year to sort out your creative space. Doing a regular clean out will keep you feeling organised and also serves as a good stocktake of your supplies and equipment.
- Make it your own – Theres no use having a perfectly organised space if it doesn’t reflect who you are and what you love. Pin up some encouraging words and inspirational pictures that will keep you on track.
Happy organising
Guest Post by : Anna Gray
Creator, sewer, blogger – Teapea Design
10 Tips for Organising Your Creative Space
Powered by Creative Market



Thank you! This is a fantastic help for organising my newly renovated studio, it is chaos at the moment. Little work stations everywhere & nothing organised!
Oh great BJ, I’m glad this helps 🙂