Let’s get sewing!
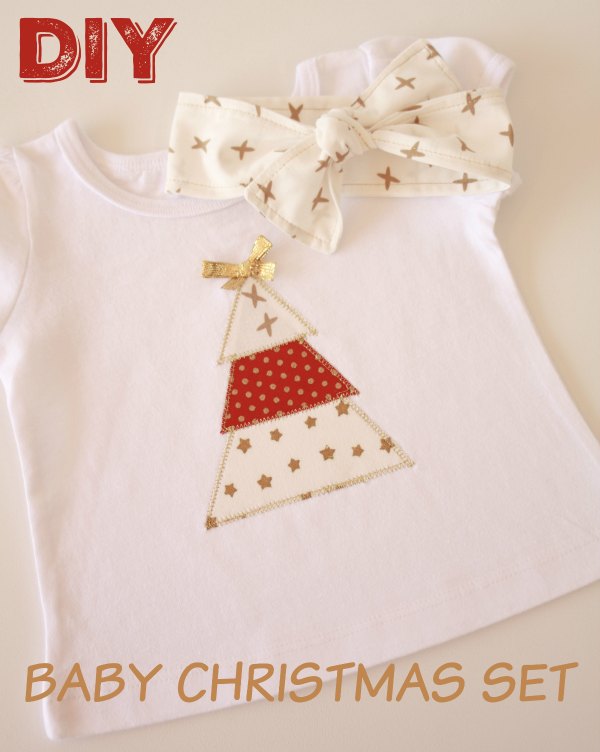
Time to get festive! Looking for a crafty project to get you in the Christmas spirit. How about sewing up one of these cute little baby sets for your little bub or as a sweet gift idea for a friend.
Tools required:
- Brother Sewing Machine
- Scissors or roller cutter
- Cutting mat, ruler, pins, pencil
- Iron
- Cardboard for triangle template
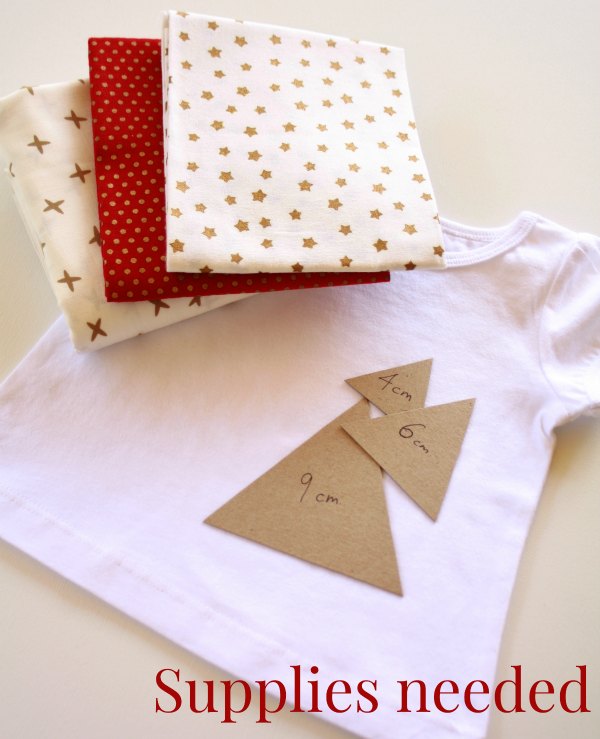
Supplies Needed:
- Baby Tshirt – we used a Size 000
- Three Christmas fabrics
- Gold cotton thread
- Heat n Bond Iron-On Adhesive
- Gold ribbon
Directions:
Baby Tshirt
- Using cardboard or thick paper cut out your 3 triangle templates. We used a 4cm, 6cm and 9cm triangle
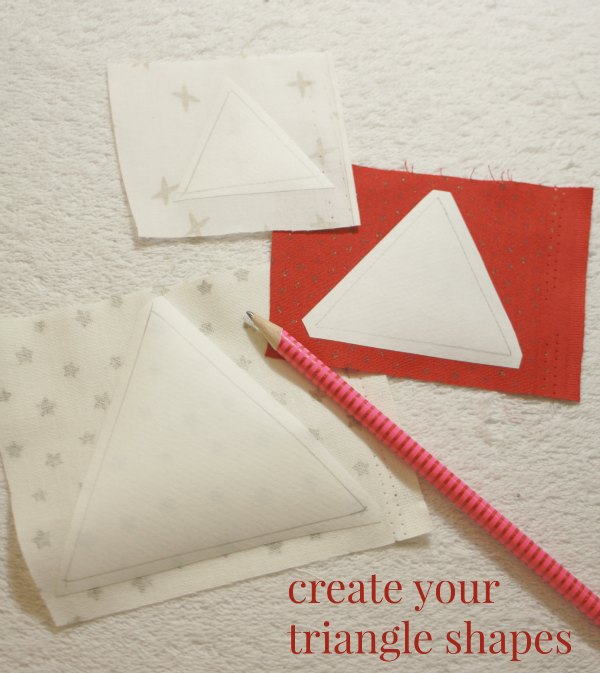
- Trace your triangle shapes onto your heat n bond. Using scissors trim close around your triangles.
- Iron flat your fabrics to get rid of any creases.
- Iron each heat n bond triangle onto the back of your 3 chosen fabrics
- Using scissors neatly cut out your triangle fabric shapes. Remove the paper backing.
- Iron flat your Tshirt to remove any creases. Position your fabric triangles on the front of your Tshirt like a Christmas tree. Using a no-steam setting, press your triangles carefully onto your Tshirt.
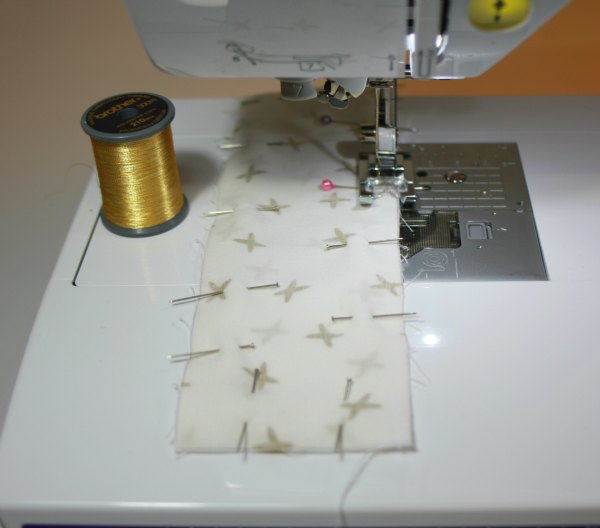
- Now sew around the edge of your triangle- you may like to use a straight stitch close to the edge of the fabric, or a zigzag stitch over the edge of your triangles.
- Using a needle and thread hand sew your gold ribbon bow onto the top of your Tshirt Christmas tree
Baby Knot Headband
- Iron flat your headband fabric
- Create a cardboard or thick paper template – 56cm long x 6cm wide
- Trace out onto your fabric x2 template shapes
- Using scissors cut out your two fabric pieces
- Lay the front side of your fabrics on top of each other, line up your edges and pin together
- Using a 1/2cm seam allowance, sew around the edges of the fabric. Leave a 4cm gap – this will be used to turn the fabric back inside out
- Using the 4cm gap turn your fabric back out the right way. Use a blunt instrument to poke out the edges and ends – we use an old wooden chopstick to do this
- Iron flat your headband
- Now sew another straight stitch close to the edge of your fabric all the way around. This will close up your 4cm gap
- Iron flat again
- Now you are ready to tie a knot or bow in your headband

Congratulations your Baby Christmas Set is all ready for your little one to wear this festive season.
We are very excited to have our tutorial featured in Brother Australia’s – ‘Brother Inspires Christmas Countdown’. Keep an eye on the Brother Facebook page for the Countdown as exciting Christmas projects are released each day over early November.
Visit Brother’s Facebook Page – HERE
Visit the Brother Projects Page – HERE