If you follow our facebook page (if you don’t, then your missing out), you would have seen the other day a pic of some clay tags I was making to add to our handmade Christmas pressies this year. They are really simple to make and loads of fun.
These clay tags can also be used as tree ornaments.
So here is my take on the clay tag.
What you will need is:
- Clay (I have gone for white air dry but you can also use FIMO. If using FIMO follow the directions on the pack)
- Wax paper
- Rolling pin
- Cookie cutter (any shape, I have used round)
- Wooden skewers or a straw
- Stamps
- Twine or ribbon
- sandpaper or sanding block
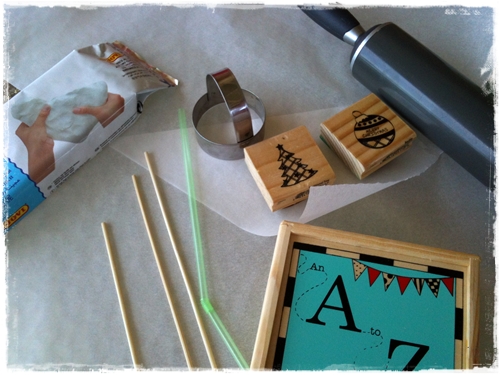
- Lay out 2 pieces of wax paper, one for where you will roll your clay and the other to place your tags to dry.
- Break off some clay and knead in your hands to soften. Once softened lay your clay on your wax paper and place 2 skewers on either side.
- Begin to roll out your clay. The skewers will help roll the clay to an even thickness. This is not necessary but I like them to be fairly even in thickness.

- Once you are happy with the thickness, you can the take your cookie cutter and begin to cut out your outside shape. I have used round for mine, but any shape will do. I think stars would like nice for Christmas also.

- After you have cut out your outside shape, you can begin to stamp. You can use any stamps you like. I have used a combination of alphabet stamps to create words and Christmas themed stamps. You can find wooden stamps at any good craft store.

- Once you have stamped your design, using a skewer or a straw, punch a hole in the top of your tag. This is what you will thread your twine or ribbon to for hanging.

- Set your tags out to dry on the other piece of wax paper. Your tags will take about 24 hours to fully dry.
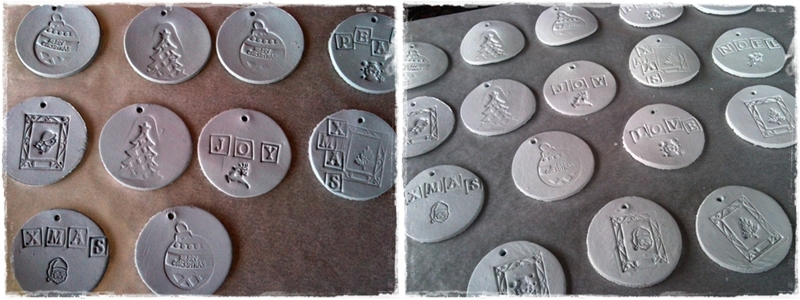
- Once your tags are fully dry, they are ready to sand. Using your sanding block or paper, go around the edges to take off the rough edges. You can also use your paper or block to sand off any roughness on the tag .
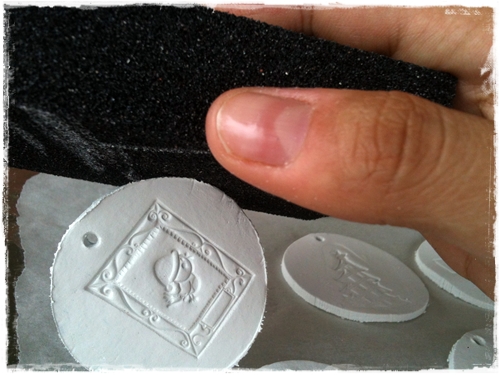
- At this point, you can choose to paint your tags or leave them natural. I have gone for natural this time.
- Tie on your ribbon or twine and you’re done.
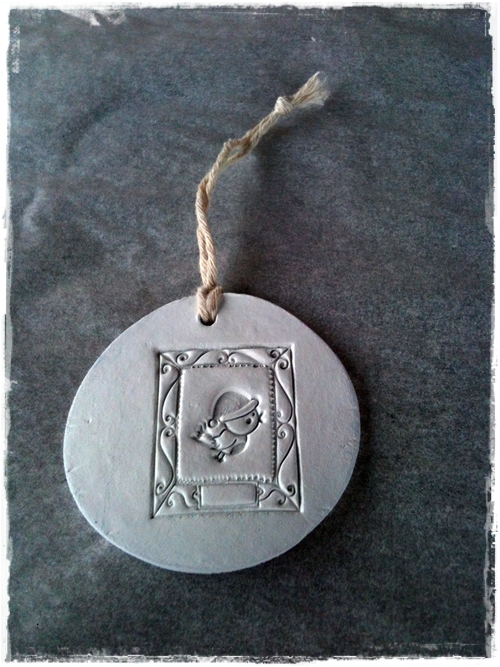
These are great for dressing up any gift not just at Christmas time. Have fun and get creative. If you have any questions, feel free to leave them in the comments and I will do my best to answer them for you.
Did you enjoy this tutorial? Is this something you would like to see more of? Different how to’s?

